
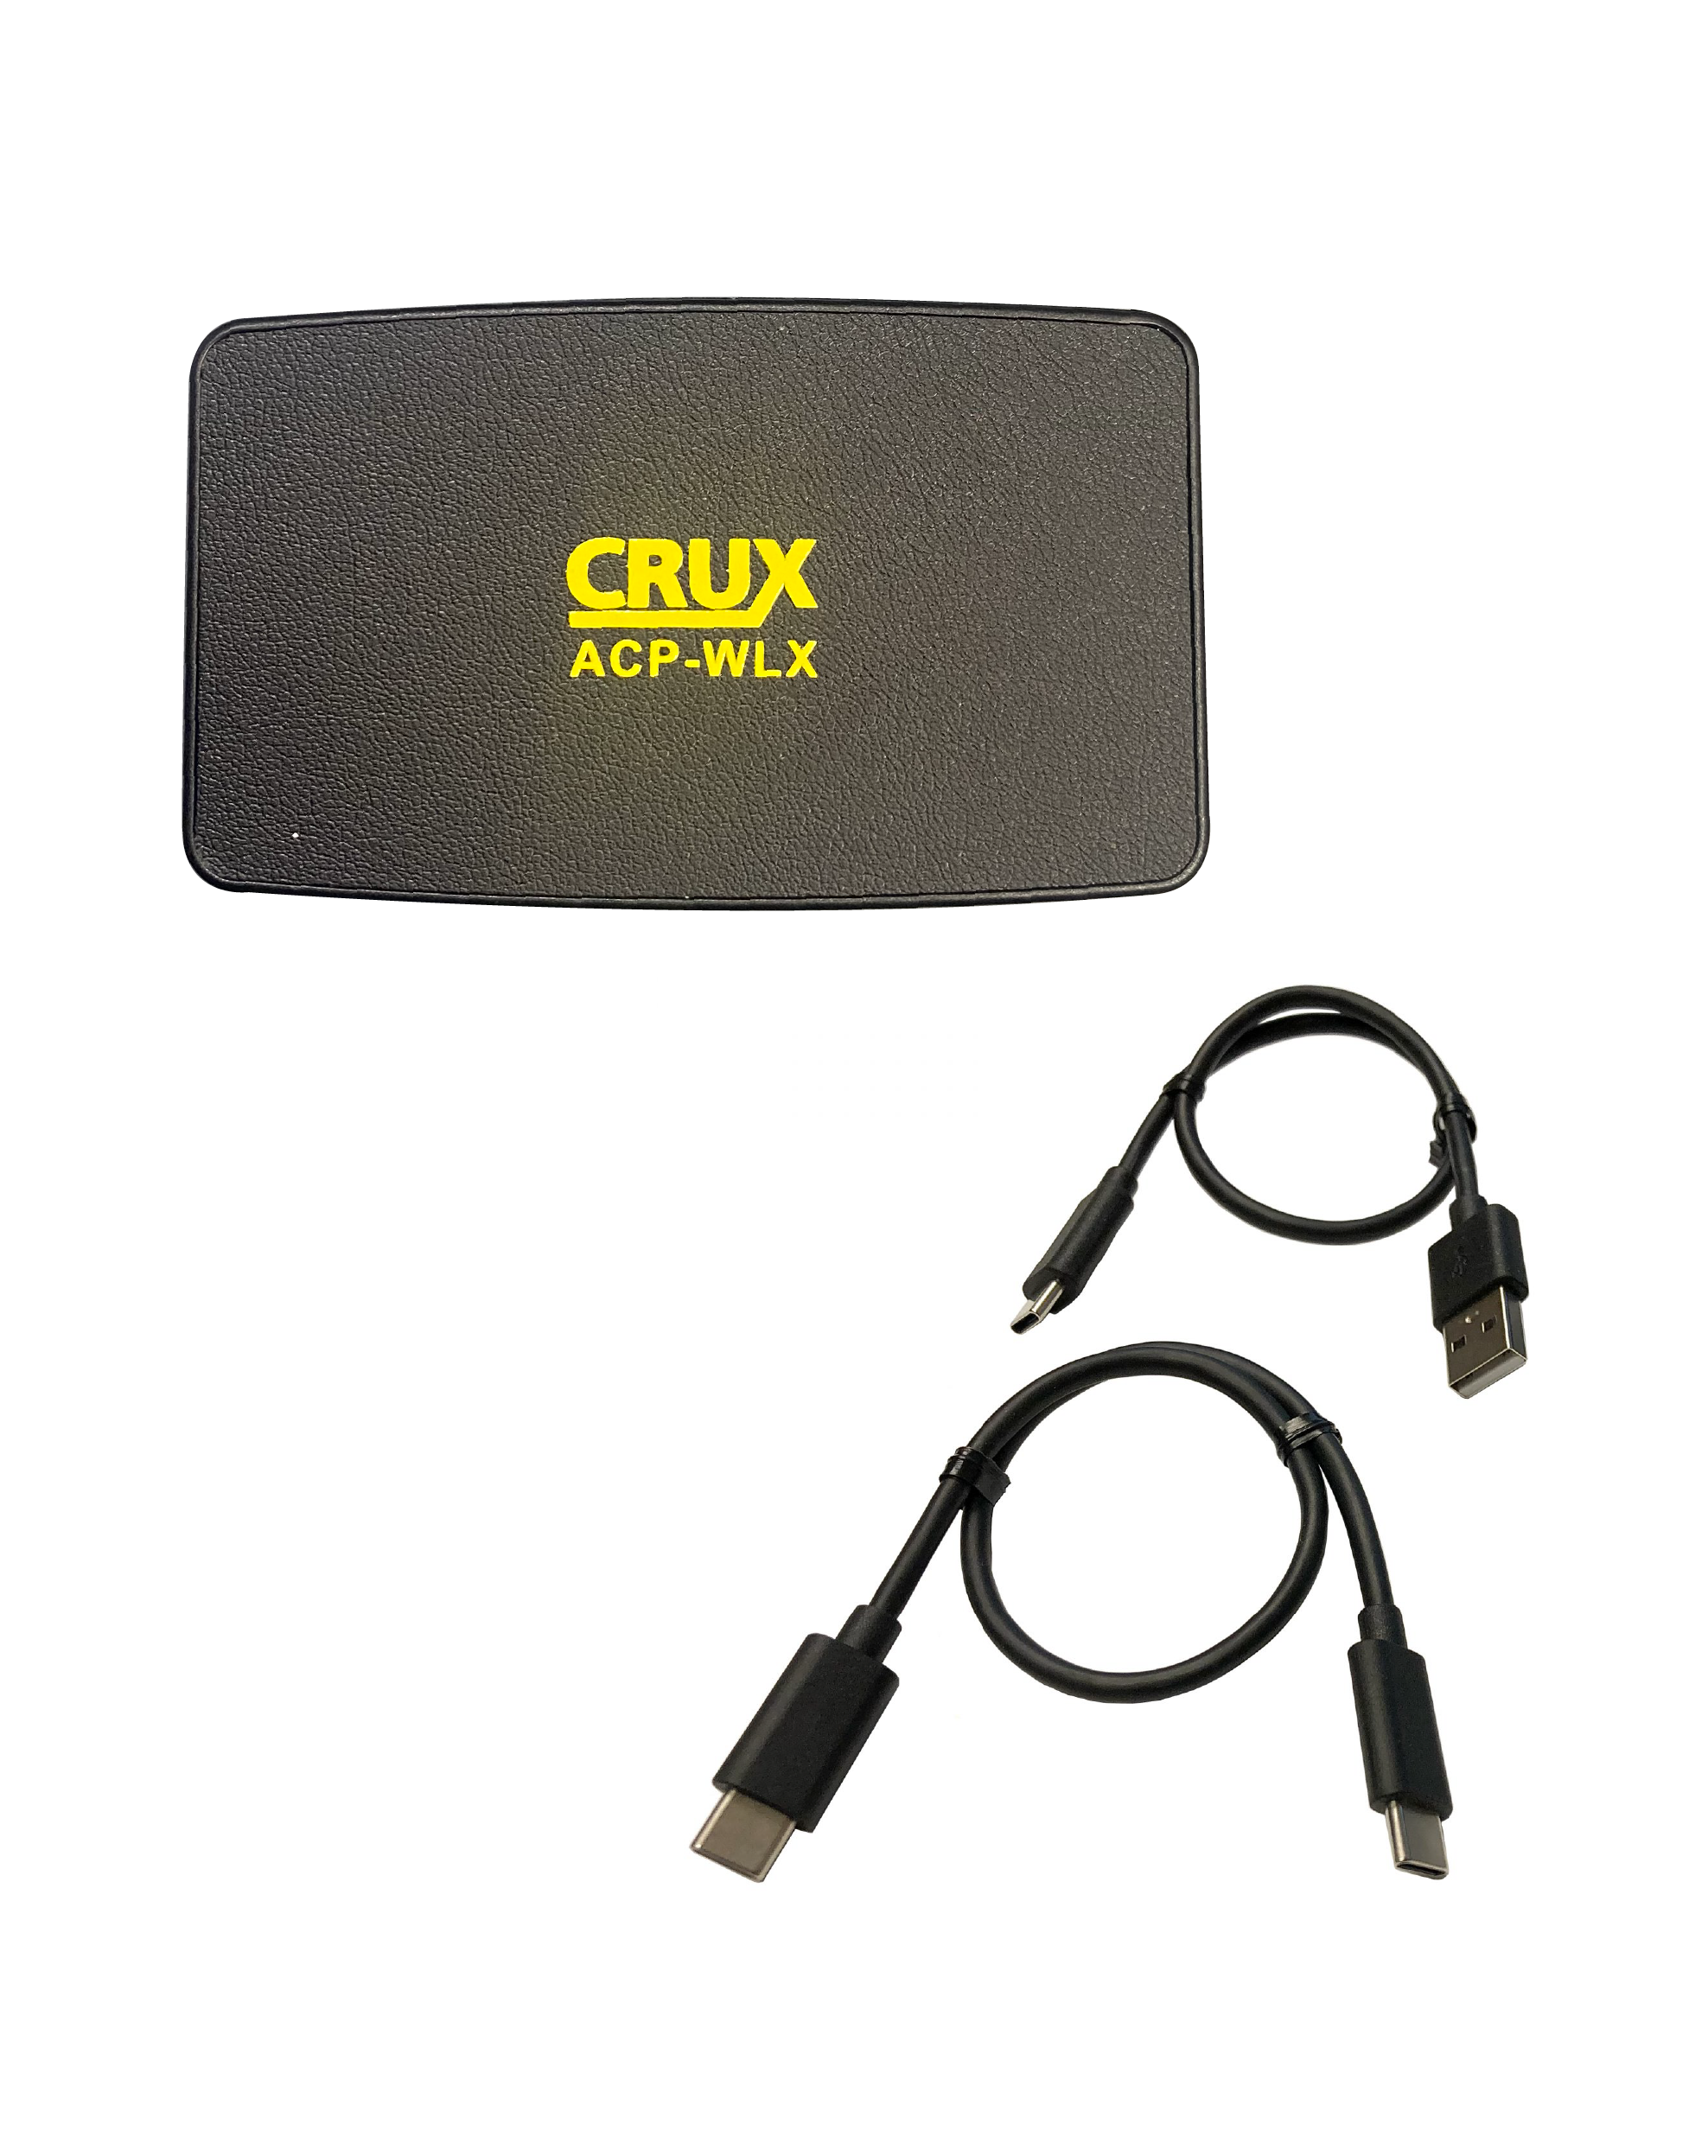
ACP-WLX
Installation Instructions
- 1. Download the zipped file and locate the zipped folder that you want to unzip (extract) files or folders from.
- 2. To unzip a single file or folder, open the zipped folder, then drag the update.img file from the zipped folder to a new location.
- 3. Need a compatible usb preferably < 32 GB, format to FAT32
- 4. Select the update.img file and save it on your USB thumb drive preferably with no other files so device can read the file.
- 5. Connect the ACP-WLX module to a vehicle, aftermarket radio, or a charger and wait till the LED lights are lit up.
- 6. Insert the USB to the appropriate USB A port on the ACP-WLX module
- 7. The ACP-WLX module will update automatically
- 8. This process can be confirmed by waiting till all the LED’s flash quickly while the device is updating and becomes solid once its finished updating.
- 9. Unplug the USB to the ACP-WLX module and reconnect the ACP-WLX to vehicle or aftermarket radio.
******** please note: Don’t power off during the software updating process.