
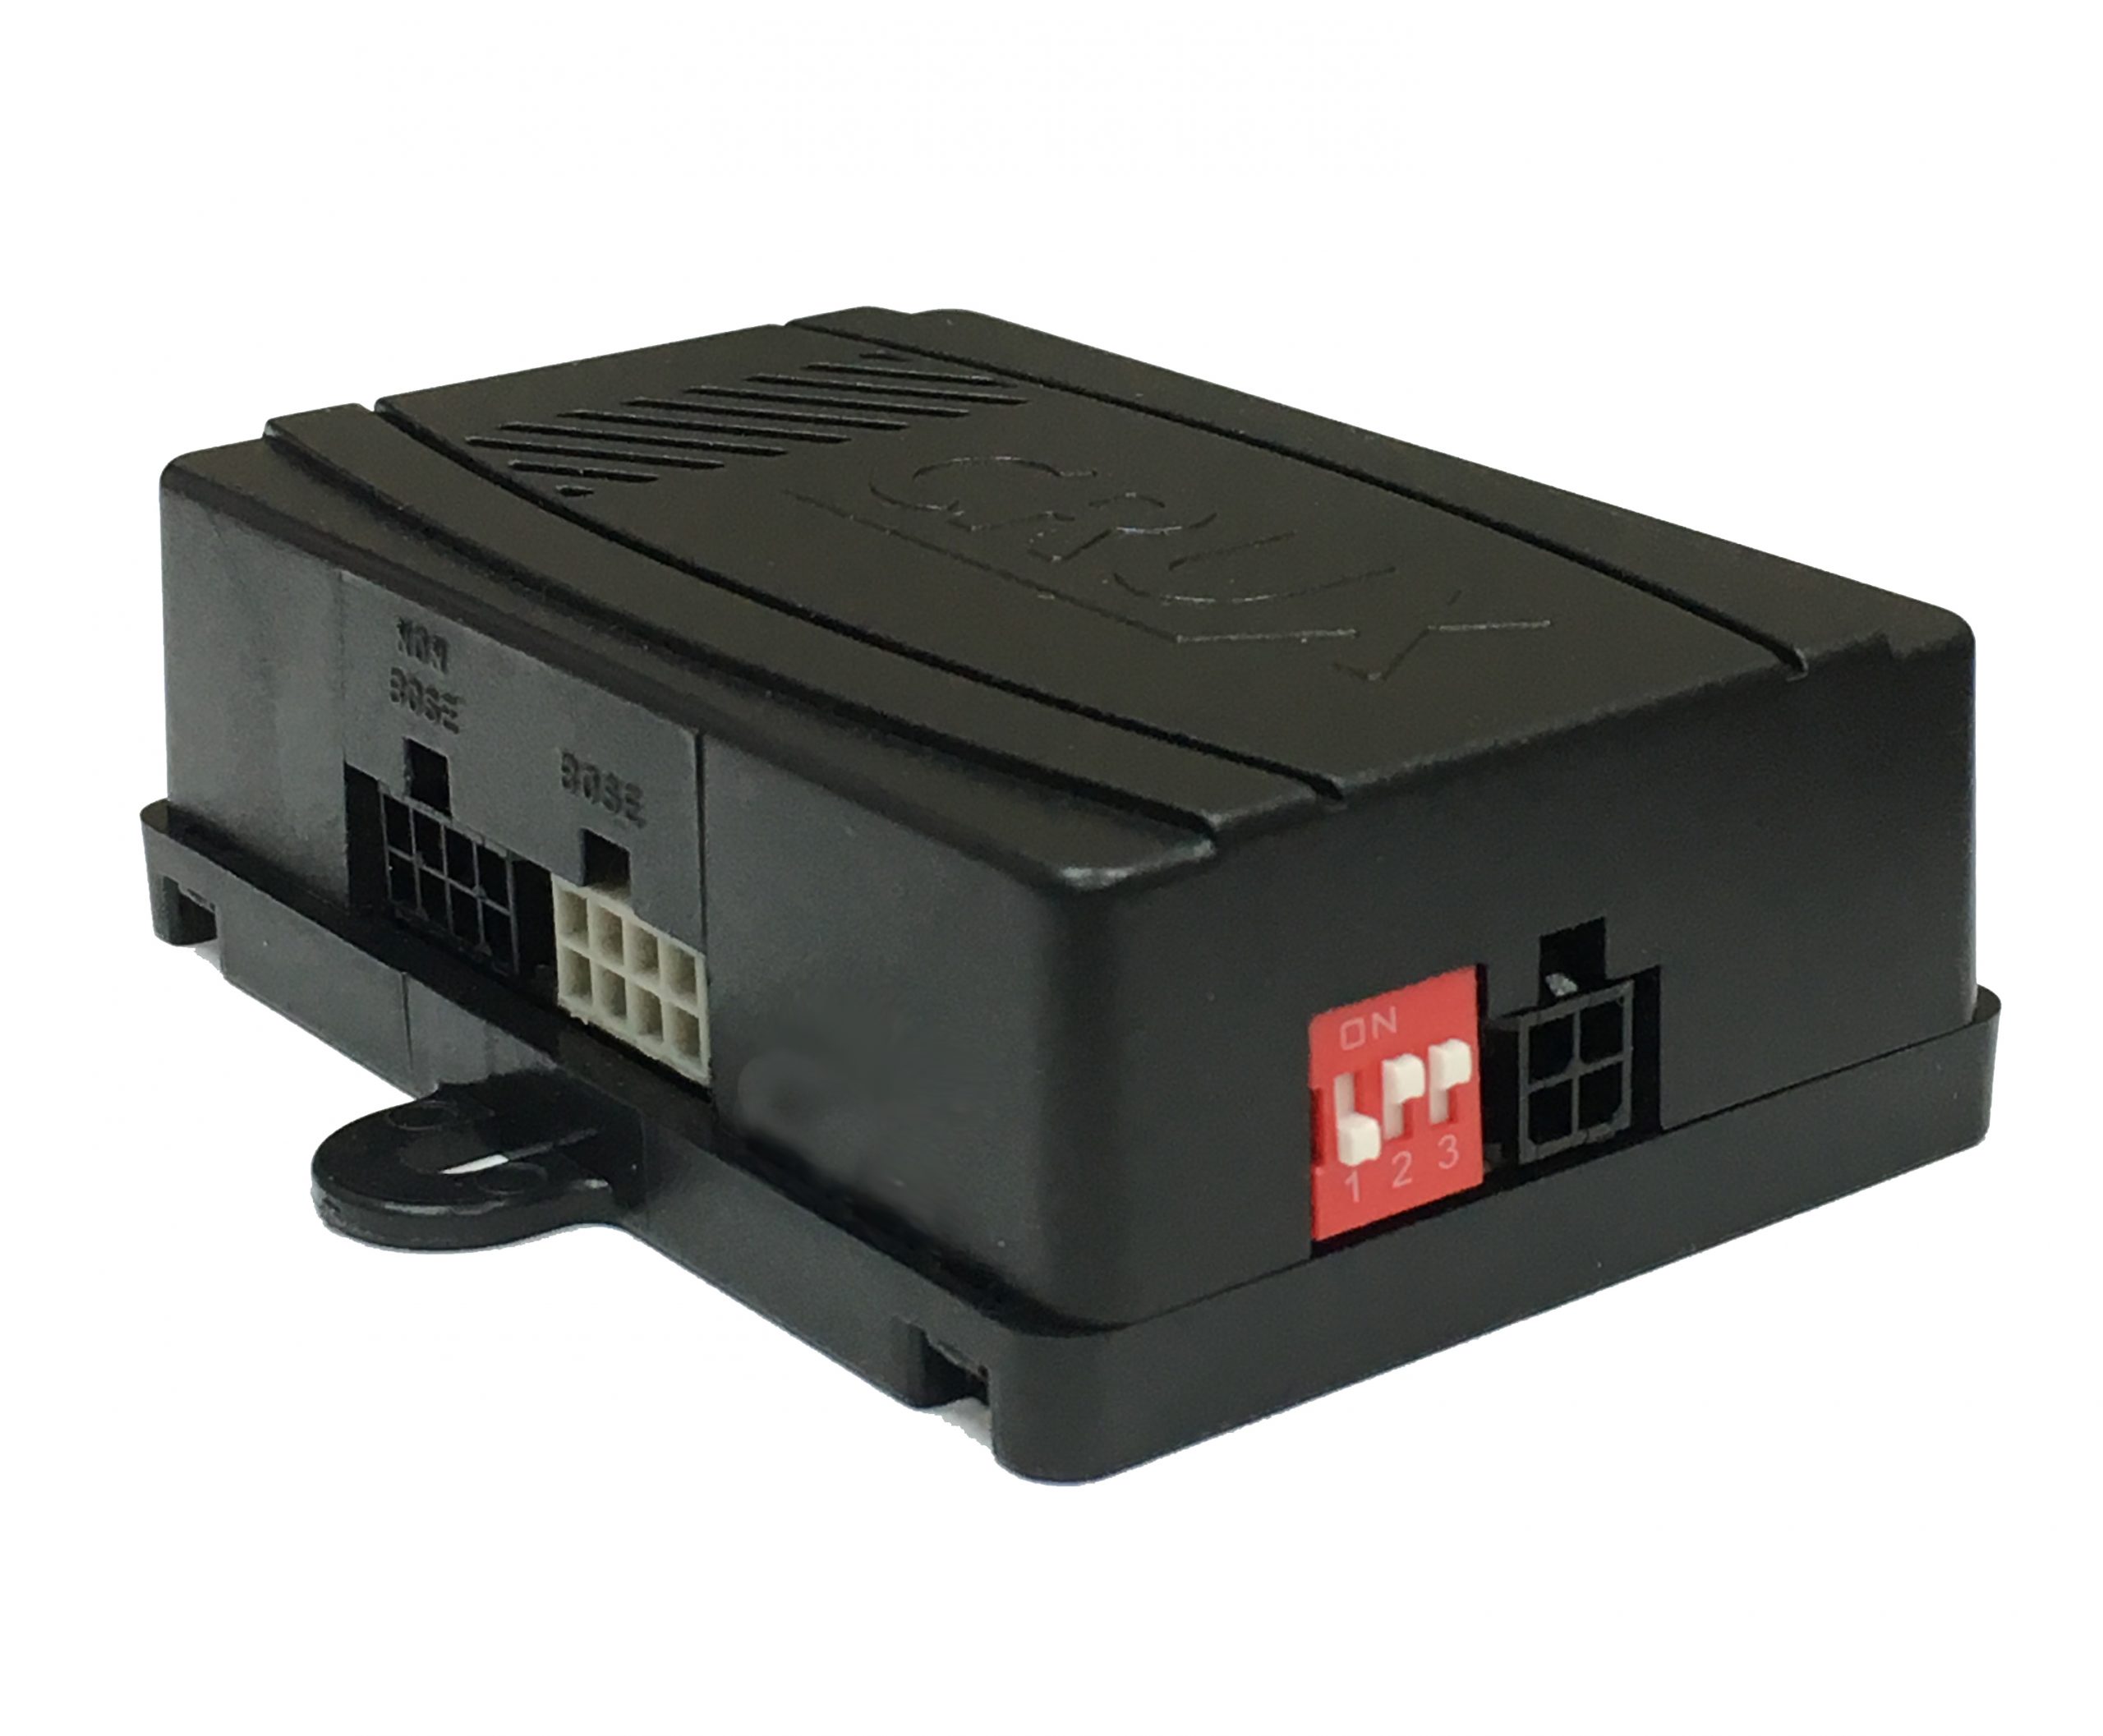
GM 49 module scaled
[stm_icon_button align=”right” link=”url:http%3A%2F%2Fcruxinterfacing.com%2Fwp-content%2Fuploads%2F2022%2F05%2FCR-4000_GD_SW2.0.3_PT_fix_ABOM-Prototype.bin|title:Download%20Firmware%20SW%202.0.3%20to%20resolve%20GD%20CHIP%20Module%20not%20providing%2012V%20output” box_bg_color=”#ffffff” box_text_color=”#0a0a0a” css=”.vc_custom_1653332021243{margin-top: -40px !important;margin-bottom: 10px !important;}”]
[stm_icon_button align=”right” link=”url:http%3A%2F%2Fcruxinterfacing.com%2Fwp-content%2Fuploads%2F2023%2F04%2FCR-4000-SW-1.0.3-Update-RSE-H-phn-Turn-ON-.bin|title:Download%20Firmware%20SW%201.0.3%20to%20resolve%20rear%20parking%20sensors%20not%20working” box_bg_color=”#ffffff” box_text_color=”#0a0a0a” css=”.vc_custom_1681516434236{margin-top: -40px !important;margin-bottom: 10px !important;}”]
[stm_icon_button align=”right” link=”url:http%3A%2F%2Fcruxinterfacing.com%2Fflasher%2Fsetup.exe|title:CRUX-Flasher” css=”.vc_custom_1712101803671{margin-top: 30px !important;}”]

SOCGM-18

Installation Instructions

  • Download the latest firmware.
  • Open CRUX-Flasher.
  • Connect interface to PC, once loaded click “List Devices”
    • Interface Product ID will show up in display window.
  • Click “Browse” and select firmware BIN file.
  • Click “Flash”, wait for “update successful”.
  • Click “Exit and disconnect interface module.

CRUX-Flasher Installation Instructions.

  • Download CRUX-Flasher.
  • Click “lch stimme zu”.
  • Double-click “setup.exe”.
  • Click “Install”.
  • CRUX-Flasher will open.


*Only Compatible with Windows.

Detailed Installation Instructions.

How to Flash a Crux Module (Easy Firmware Update Tutorial)