
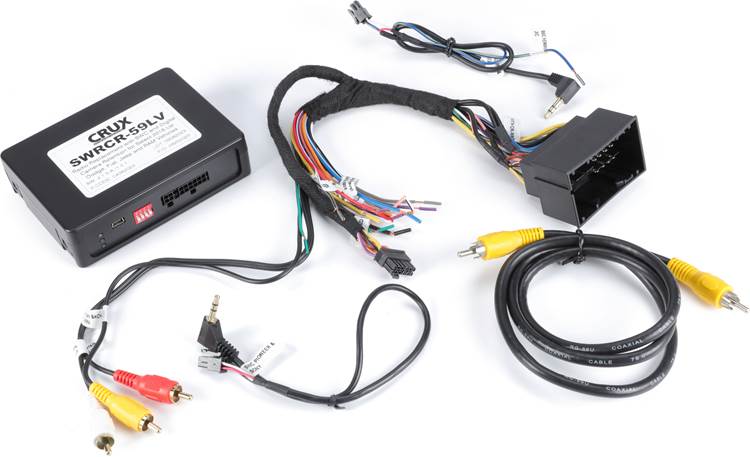
[stm_icon_button align=”right” link=”url:http%3A%2F%2Fcruxinterfacing.com%2Fwp-content%2Fuploads%2F2025%2F04%2FRL_LVAV_SW1.0.3.bin|title:Download%20Firmware%20SW%201.0.3%20Added%20Ram%20Promaster%20Application” box_bg_color=”#ffffff” box_text_color=”#0a0a0a” css=”.vc_custom_1744159717411{margin-top: -40px !important;margin-bottom: 10px !important;}”]
[stm_icon_button align=”right” link=”url:http%3A%2F%2Fcruxinterfacing.com%2Fwp-content%2Fuploads%2F2025%2F02%2FRL-LVAV_SW1.0.4_October2024.bin|title:Download%20Firmware%20SW%201.0.4″ box_bg_color=”#ffffff” box_text_color=”#0a0a0a” css=”.vc_custom_1744159639263{margin-top: -40px !important;margin-bottom: 10px !important;}”]
[stm_icon_button align=”right” link=”url:http%3A%2F%2Fcruxinterfacing.com%2Fwp-content%2Fuploads%2F2025%2F06%2FCX-401-A_special_test_no_RAP_jeep_testonly.bin|title:Download%20Firmware%20SW%201.0.4″ box_bg_color=”#ffffff” box_text_color=”#0a0a0a” css=”.vc_custom_1749759510786{margin-top: -40px !important;margin-bottom: 10px !important;}”]
[stm_icon_button align=”right” link=”url:http%3A%2F%2Fcruxinterfacing.com%2Fwp-content%2Fuploads%2F2026%2F02%2FRL-LVAV_RL-LVAV-CAN_SW1.0.5.bin|title:Download%20Firmware%20SW%201.0.5″ box_bg_color=”#ffffff” box_text_color=”#0a0a0a” css=”.vc_custom_1784063194767{margin-top: -40px !important;margin-bottom: 10px !important;}”]
[stm_icon_button align=”right” link=”url:http%3A%2F%2Fcruxinterfacing.com%2Fwp-content%2Fuploads%2F2025%2F06%2FCX-401-A_special_test_no_RAP_jeep_testonly.bin|title:Download%20Firmware%20SW%201.0.4″ box_bg_color=”#ffffff” box_text_color=”#0a0a0a” css=”.vc_custom_1749759510786{margin-top: -40px !important;margin-bottom: 10px !important;}”]
[stm_icon_button align=”right” link=”url:http%3A%2F%2Fcruxinterfacing.com%2Fwp-content%2Fuploads%2F2026%2F01%2F1.1.6-flasher.zip|title:CRUX-Flasher%20version%201.1.4″ css=”.vc_custom_1768944927492{margin-top: 30px !important;}”]
SWRCR-59LV
Hardware removal Instructions
Step 1: Choose the Correct USB Port
-
OPTION 1: If you’re experiencing camera issues, use the internal Mini-USB port labeled RL-USB on the circuit board, which is only accessible by removing the plastic enclosure.
-
OPTION 2: If you’re having audio or steering wheel control issues, use the external Mini-USB port next to the DIP switches.
Step 2: Open the Enclosure (for camera issues only)
Use a flathead screwdriver to release the four side clips and open the case to access the circuit board.
Step 3: Connect to the Correct USB Port
-
For camera issues: connect your USB cable to the internal RL-USB port on the board.
-
For audio/SWC issues: connect to the external Mini-USB port.
Installation Instructions
- Download the latest firmware.
- Open CRUX-Flasher.
- Connect interface to PC, once loaded click “List Devices”
- Interface Product ID will show up in display window.
- Click “Browse” and select firmware BIN file.
- Click “Flash”, wait for “update successful”.
- Click “Exit and disconnect interface module.
CRUX-Flasher Installation Instructions.
- Download CRUX-Flasher.
- Click “lch stimme zu”.
- Double-click “setup.exe”.
- Click “Install”.
- CRUX-Flasher will open.
*Only Compatible with Windows.